The Preclinical Research Lifecycle
A practical, stage-by-stage guide to what happens, what changes in vivo, and how to keep your data honest
Preclinical research doesn’t fail because teams don’t care.
It fails because biology is noisy, timelines are real, and the “small” variables—handling, temperature drift, oxygen strategy, recovery conditions—become part of the experiment.
We like to think of the research lifecycle just like our fourth-grade science project: make a hypothesis, collect data, conclude if your hypothesis was correct. Unfortunately, that fourth-grade science project didn’t include apply for funding, respond to peer reviewers (one of whom wonders why you didn’t cite the entire bibliography of a specific researcher), stare for hours wondering why your Western blot failed, and wonder if you should start that bakery when you have yet another page of negative data (Mrs. Jones understood when your potato didn’t generate electricity, Reviewer 2…not so much).
Preclinical research has a simple promise: learn enough biology, fast enough, to make a good decision. The hard part is that “biology” includes the animal and everything around it—handling, timing, temperature, carrier gas, recovery conditions, diet and water, and who’s running the procedure on a Tuesday afternoon and if they have any plans after work.
Those details shape welfare, data quality, and how many animals you need to get a signal you can trust.
This guide walks through the preclinical research lifecycle in the way most teams actually experience it: as a sequence of stage gates with shifting goals, constraints, and risk. It also calls out the variables that matter most once you go in vivo, and what to standardize so your endpoints stay your endpoints.
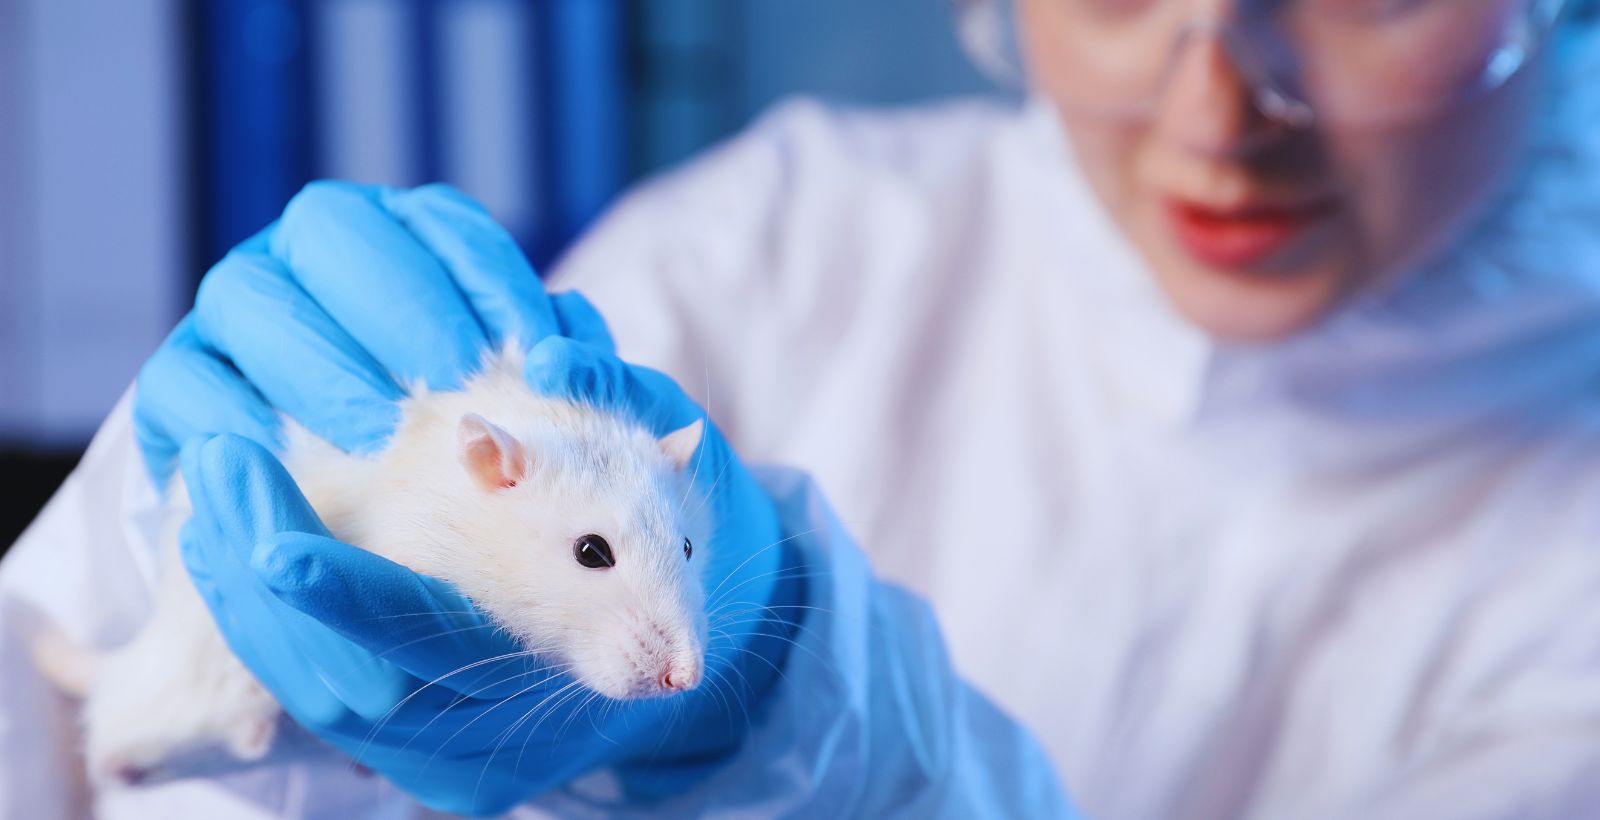
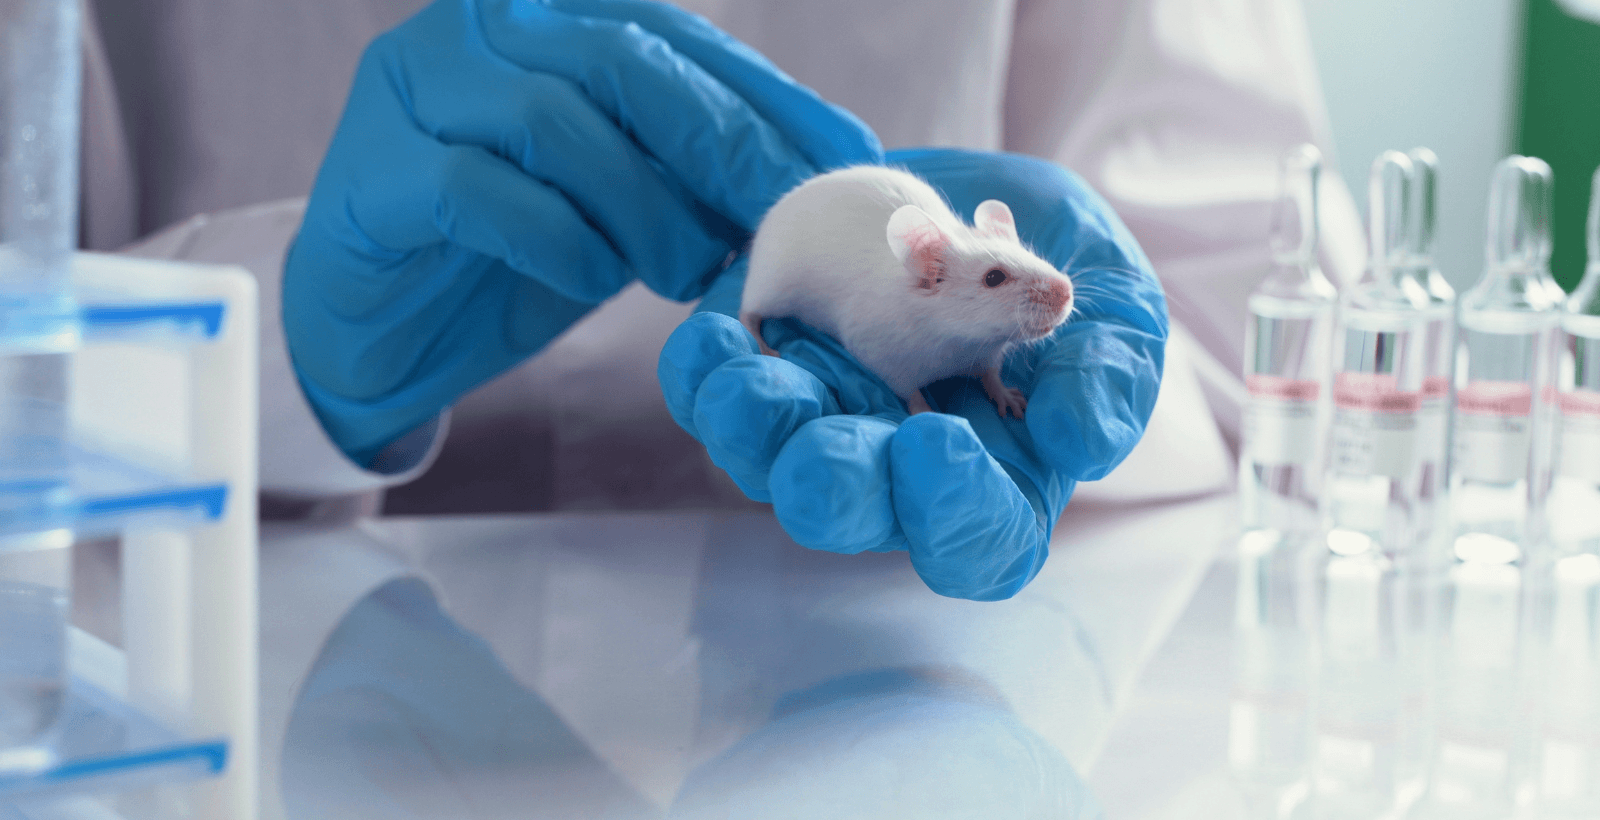
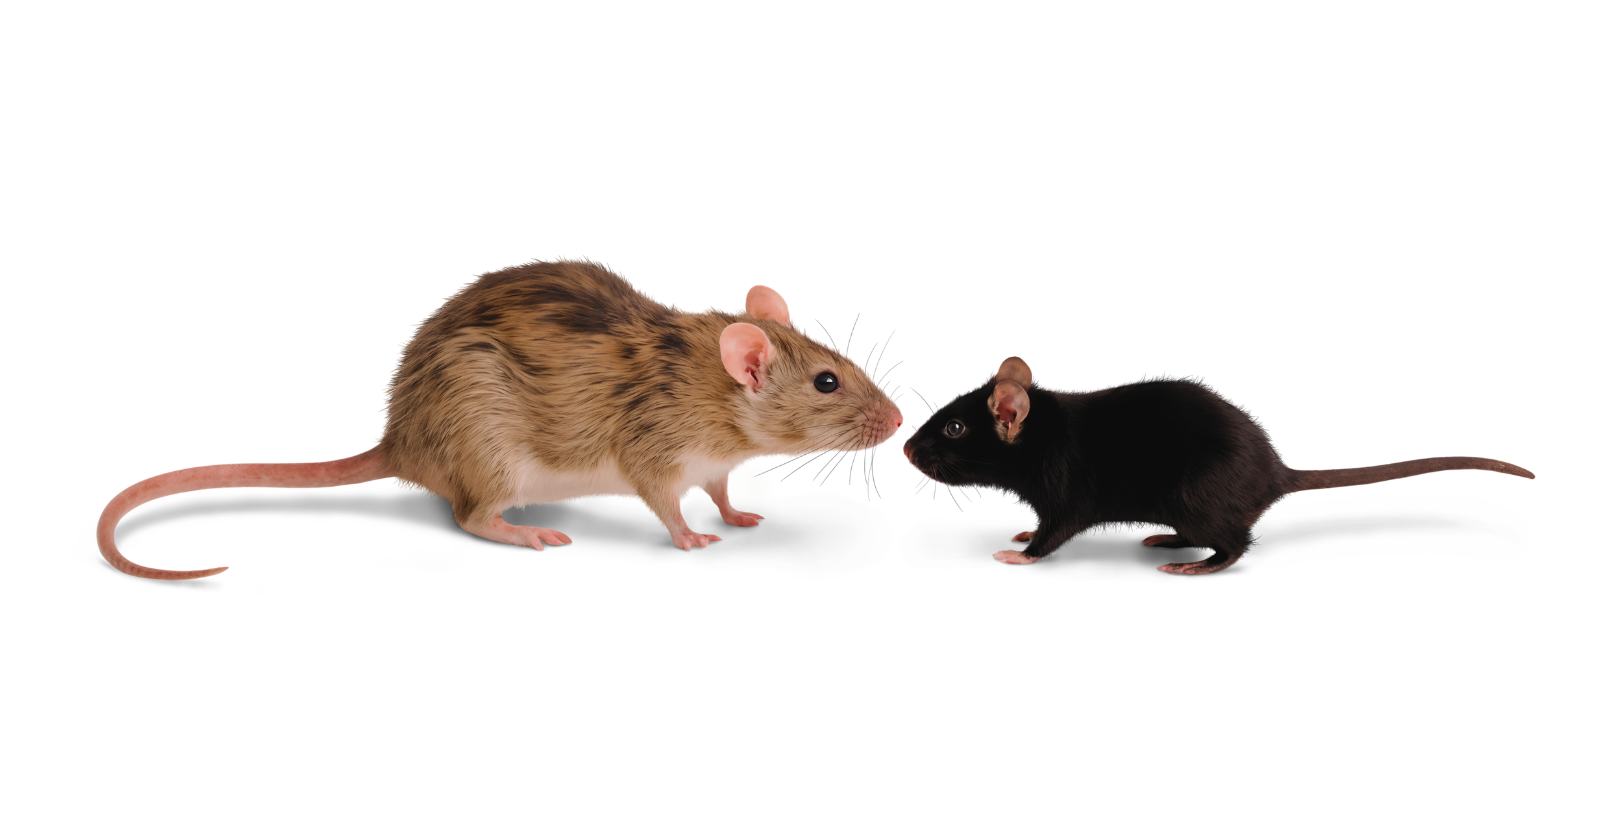
If you work with mice or rats (or both), this is also where those differences start to matter operationally.
TL;DR Preclinical Research Lifecycle
Preclinical work typically moves through these stages:
- Discovery and target validation
- In vitro screening and mechanism work
- In vivo feasibility and model selection
- Dose finding + PK/PD
- Efficacy studies
- Safety signals and tolerability
- IND-enabling studies and handoff to GLP tox partners (for drug programs)
The initial question is refined at each stage. So should the study design and the level of control you impose on variables.
The Preclinical Research Lifecycle: When you move from in vitro to in vivo, the environment changes
In vitro work rewards clean isolation. When you move to in vivo work, you’re no longer in an isolated system: control and repeatability become more complex.
Once you introduce animals, you’re no longer testing just your compound or device. You’re testing it inside a living system that responds to:
- handling and restraint
- temperature loss and recovery conditions
- carrier gas choice and anesthetic depth
- ventilation decisions
- diet and water intake
- housing, circadian timing, and stress
These are potential confounders: they can widen variance, blur effects, and force bigger sample sizes to compensate.
You can avoid the “cold spot” in your incubator. If your animals are shivering, you might not be able to recover your data.
An animal under anesthesia stops regulating temperature the way it does when awake. Handling changes physiology and behavior. Timing changes hormones. The water bottle can change intake.
So the biggest shift when a project moves into animals is that the experimental environment becomes part of the experiment. If you don’t choose which parts of that environment are allowed to vary, the system will choose for you.
That’s why Kent’s stance is simple: better workflows, better welfare, better data. Those are linked. The 3Rs (especially refinement and reduction) aren’t abstract here—they’re what you do when you make the physiology stable and the workflow repeatable.
Stage 1: Discovery and target validation
Goal: find a plausible mechanism and a reason to invest further.
This stage is about plausibility and focus. You’re testing whether a mechanism is worth pursuing and whether you can measure it reliably.
What good looks like
- clear biological rationale
- reproducible signal in more than one assay or dataset
- early thought about translatability (what will “success” mean in vivo?)
Common risk
- “mechanism in a dish” becomes “mechanism in a mouse” without checking whether the biology survives complexity
What to document early
- assay conditions and controls
- known confounders (cell line drift, batch effects, reagent lots)
A common pattern that creates pain later: teams build a beautiful story in vitro and postpone the translation questions. When the program reaches animals, the endpoints don’t match the story, and the study turns into “let’s try a few things.”
Stage 2: In vitro screening and early de-risking
Goal: narrow candidates and define the starting hypothesis for in vivo work.
This stage is where you narrow. You’re not trying to prove the entire thesis—you’re trying to choose what deserves time and animals.
What good looks like
- dose-response behavior that makes sense
- early toxicity flags
- clarity on what you’ll test first in animals and why
Common risk
- poor reproducibility leads to a noisy handoff into in vivo, where everything gets more expensive
Helpful mindset
You’re not trying to “prove.” You’re trying to choose what’s worth proving.
The handoff into in vivo is cleaner when the in vitro work produces a short list of candidates and a short list of questions.
Stage 3: In vivo feasibility and model selection
Goal: determine whether the biology shows up in a living system and whether the model is appropriate.
This is the first time most teams feel the full cost of variability.
You’re looking to confirm that the biology shows up in a living system and that your model is appropriate. The work is harder than it sounds because the model is never just “a mouse.” It’s a strain, a sex, a housing condition, a handling pattern, a circadian context, and sometimes an anesthesia workflow.
What good looks like
- a model you can defend (species, strain, endpoints)
- baseline physiology that makes sense for your experiment
- early data that tells you whether to proceed, pivot, or stop
Common risks
- variability overwhelms signal
- endpoints shift because the environment shifts
- handling/anesthesia effects become invisible confounders
What to standardize now (even for “quick feasibility”)
- handling approach and acclimation
- timing of procedures (same time of day matters more than people think)
- warming and recovery conditions
- anesthesia approach if used
This is also where “mice vs rats” becomes more than a line item. For example, mice drift faster under anesthesia and lose heat quickly. Rats tolerate more, but long procedures still accumulate drift. Either way, the thermal and respiratory story matters earlier than teams expect.
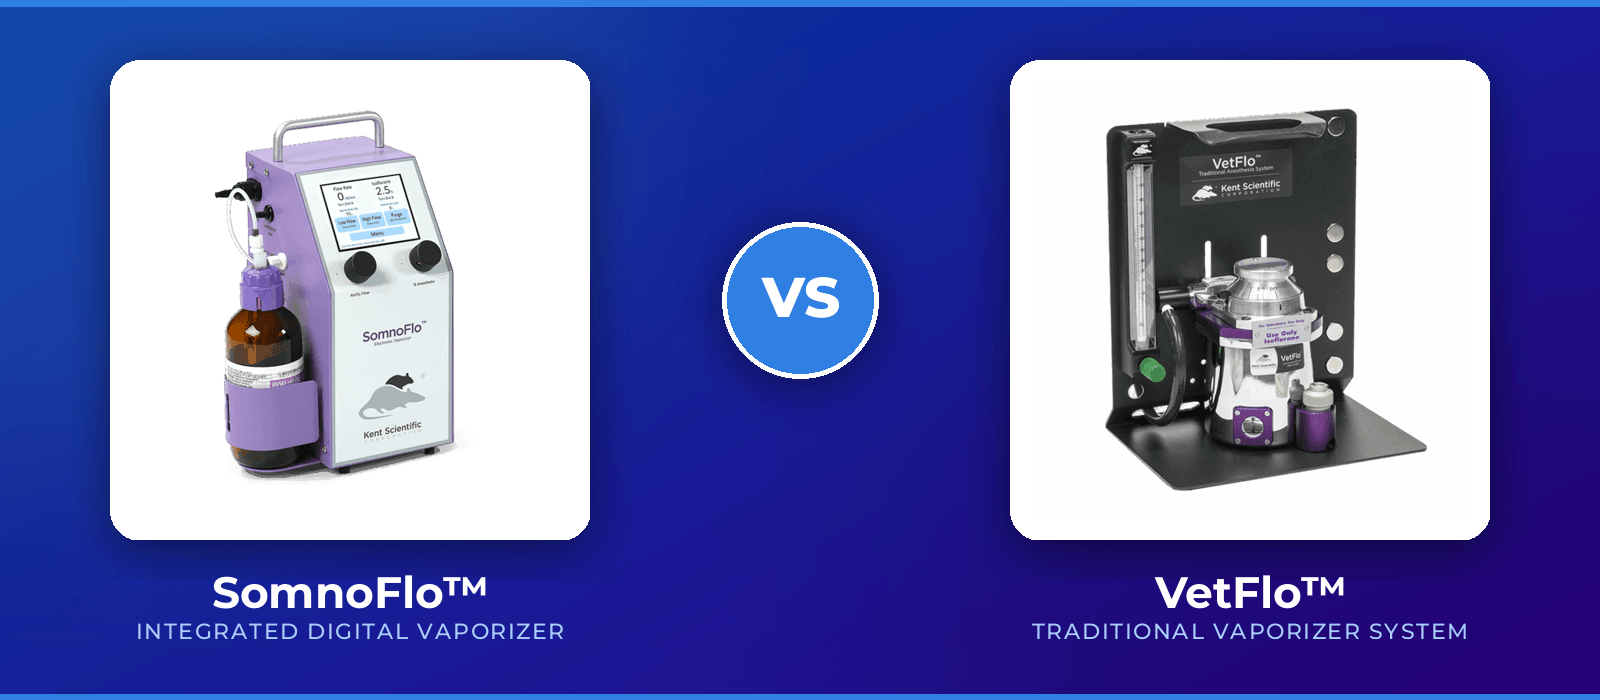
If anesthesia enters the workflow, this is where a stable rodent anesthesia setup matters.
Stage 4: Dose finding and PK/PD
Goal: determine exposure, dose-response, and whether the mechanism behaves as expected in vivo.
AT this stage, you’re measuring relationships: accurate inputs are critical
What good looks like
- dosing and sampling that can be repeated across cohorts
- clear PK profile and meaningful PD readouts
- interpretation that doesn’t rely on one perfect day
Common risks
- dosing variability (intake differences, stress response, inconsistent technique)
- anesthetic or warming differences across animals shift PK/PD
- recovery variability adds noise to PD endpoints
What to document tightly here
- compound prep and vehicle
- dosing route and technique
- diet/water variables if relevant
- anesthesia/monitoring/warming conditions if used
- body temperature support and measurement plan
Physiological monitoring becomes more relevant when you’re interpreting PK/PD relationships.
Stage 5: Efficacy studies
Goal: demonstrate a meaningful effect that holds up across animals, cohorts, and repeat runs.
Efficacy is where programs start feeling every source of avoidable noise. Bigger N can hide some of it. It also burns time, budget, and animals.
What good looks like
- clear endpoints tied to the biology
- consistent baseline conditions
- enough control that effect sizes aren’t being diluted by preventable variance
Common risks
- the biology works but variability buries it
- endpoints drift because animal physiology drifts during procedures
- different staff run the same procedure differently without realizing it
What to control more aggressively here
- recovery conditions
- temperature stability through procedure and post-procedure
- anesthesia depth consistency
- ventilation decisions when procedures are long or deep
- monitoring when physiology stability affects endpoints
If you’re doing longer procedures, ventilation and monitoring stop being optional details.
Stage 6: Safety signals and tolerability
Goal: identify red flags early, and build a safety story that holds up to scrutiny.
This stage rewards clean observation and consistent context.
A tolerability signal is hard to interpret if anesthesia depth varies, if animals cool inconsistently, or if recovery conditions differ across cohorts. Some adverse signals are real. Some are environmental. Your job is to tell the difference.
Refinement shows up strongly here: stable anesthesia and recovery conditions reduce avoidable physiologic stress and reduce noise in endpoints that are inherently sensitive.
What good looks like
- safety endpoints are measured consistently across cohorts
- adverse events are documented with context (not just outcomes)
- you can separate “compound effects” from “procedure/environment effects”
Common risks
- stress and physiologic instability create false signals
- inconsistent recovery conditions make tolerability look worse or better than it is
This is where refinement matters most. Stable support reduces avoidable physiologic stress that can create misleading results.
Stage 7: IND-enabling and GLP handoff
Goal: generate the preclinical package required for regulatory filing and clinical transition.
By the time teams reach IND-enabling work, they’re often partnering with CROs and GLP groups. A lot of the day-to-day execution shifts, but your job is to ensure:
- the model and endpoints are justified
- the protocol is executed consistently
- the workflow and documentation are defensible
A common mistake is thinking GLP will “fix” weak preclinical discipline.
It won’t.
GLP validates process. It doesn’t rescue poor assumptions.
The confounders that derail studies
This section is the part most people wish they had read earlier.
Diet and water variables
Diet and water are not neutral. They influence metabolism, immune tone, microbiome, and intake—sometimes in ways that collide directly with your endpoints.
At minimum, document:
- chow formulation, vendor, and lot
- water source and any treatment/additives
- timing rules for feeding/fasting
Anesthesia as an experimental environment
Anesthesia isn’t just “sleep.” It changes physiology—thermoregulation, ventilation, perfusion, recovery behavior. Carrier gas choices can matter too, especially if translatability and physiologic relevance are part of the goal.
If anesthesia enters your workflow, treat it as part of the experimental environment:
- define a standard approach
- keep warming consistent
- monitor what you need to keep stability defensible
Stable anesthesia + recovery workflow resources:
Temperature drift
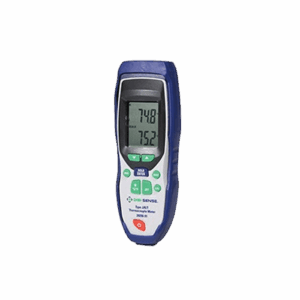
Temperature is one of the fastest ways to add variance. Mice have less thermal margin than rats. Either way, drift under anesthesia is common unless you design around it.
Ventilation decisions
You don’t need a ventilator for every protocol. But for long procedures, deeper anesthesia, or respiratory-sensitive endpoints, ventilation becomes part of stability.
Non-invasive physiology measurement
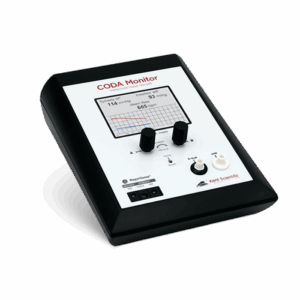
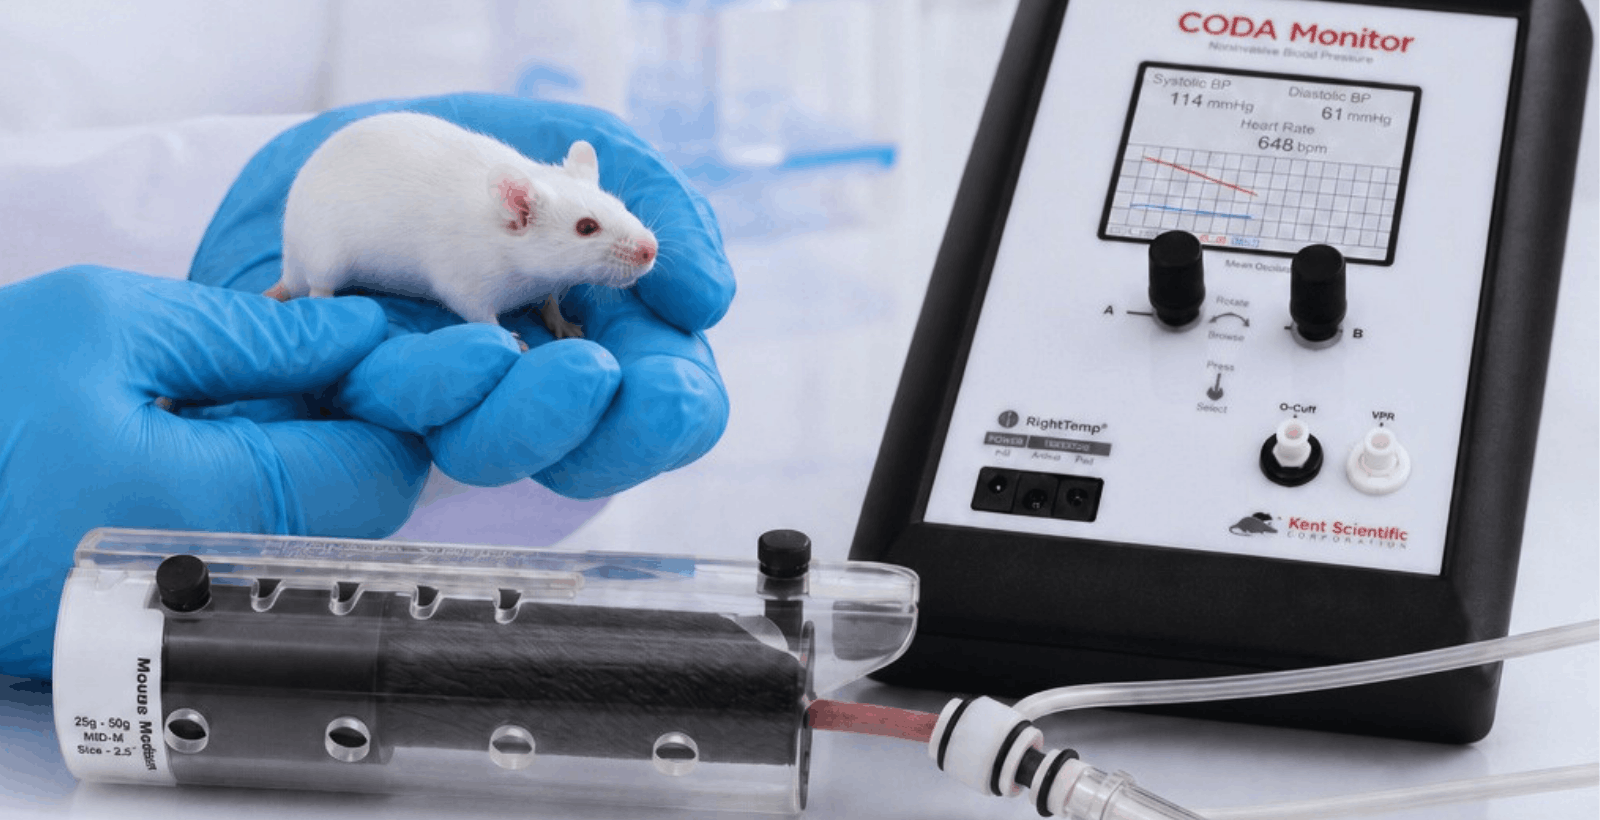
When you can measure physiology without surgical implantation, it can support refinement and cohort scalability.
Non-invasive BP measurement:
A practical “by-stage” equipment and workflow view
This isn’t a product list. It’s a workflow map.
If you’re doing in vivo feasibility
- stable anesthesia delivery if used
- warming and temperature support
- basic monitoring that protects stability
- a recovery setup that stays consistent
If you’re doing PK/PD or longer procedures
- tighter monitoring and documented recovery conditions
- ventilation if protocol demands it
- more consistent workflow staging (reduce operator-to-operator variance)
If you’re doing cardiovascular endpoints
- consider non-invasive blood pressure measurement for cohort work
- ensure acclimation and consistency are built into the method
If you’re doing survival surgery
- instruments matter, but station consistency matters too
- staging and sterile boundaries reduce variability across people and days
The 3Rs across the lifecycle
- Replacement shows up early: use non-animal methods where they answer the question, like in early feasibility studies.
- Reduction shows up through variance control: the more stable the workflow, the fewer animals you need to compensate for noise.
- Refinement shows up every day: better support, less stress, cleaner procedures, better recovery.
This is why Kent cares about the lifecycle. The science doesn’t just live in the hypothesis. It lives in the conditions that surround the animal.
Practical next step: watch the workflow, then spec the station
If you’re building or upgrading your rodent procedure workflow, the fastest improvement often comes from making anesthesia and recovery more physiologically stable and more repeatable across staff.
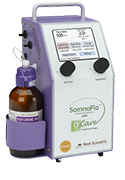
Watch: Building a stable rodent anesthesia + recovery workflow (SomnoFlo®)
OnDemand Webinar: A Blended Approach to Preclinical Research Anesthesia — Rethinking Room Air vs Pure O₂
If you want a recommendation that matches your study type, tell us:
- mice vs rats
- procedure type and typical duration
- awake vs anesthetized
- animals per session
- endpoints that matter most
Contact a specialist to get your workflow recommendation today.
Questions about your Preclinical Research Lifecycle?
The preclinical lifecycle is not just a timeline. It’s a sequence of decisions about biology, risk, and control. The further you move into in vivo work, the more the environment matters—and the more your workflow becomes part of the experiment.
If you want better translatability, better reproducibility, and fewer surprises, build the basics early: stable anesthesia and recovery, consistent temperature support, appropriate monitoring, and clear documentation of variables that can move your endpoints.
That’s how preclinical science stays defensible.